Introduction to Pardot Engagement Studio from Salesforce
Welcome to the first video in our Pardot Engagement Studio Vlog Series. The goal of this vlog is to help you understand the basics of drip marketing campaigns and the improvements that Pardot Engagement Studio from Salesforce makes to the process. This video will demonstrate the new features that makes Engagement Studio a much better platform than traditional drip programs. Watch to learn how you can make the most out of the manual move to Engagement Studio by making improvements to your campaigns as part of the update.

Video Transcript
Hello and welcome to the first edition of our Engagement Studio Vlog series. My name is Guido Bartolacci, I’m an account strategist at SmartAcre® and I’ll be your host through this series. In this episode, (are they called episodes? doesn’t matter) I’ll be talking about drip programs today. I think it’s important to understand the differences between drip programs and the new and improved Engagement Studio programs. So I’ll show you how you set up a drip program, what their limitations were and how they could be improved upon.
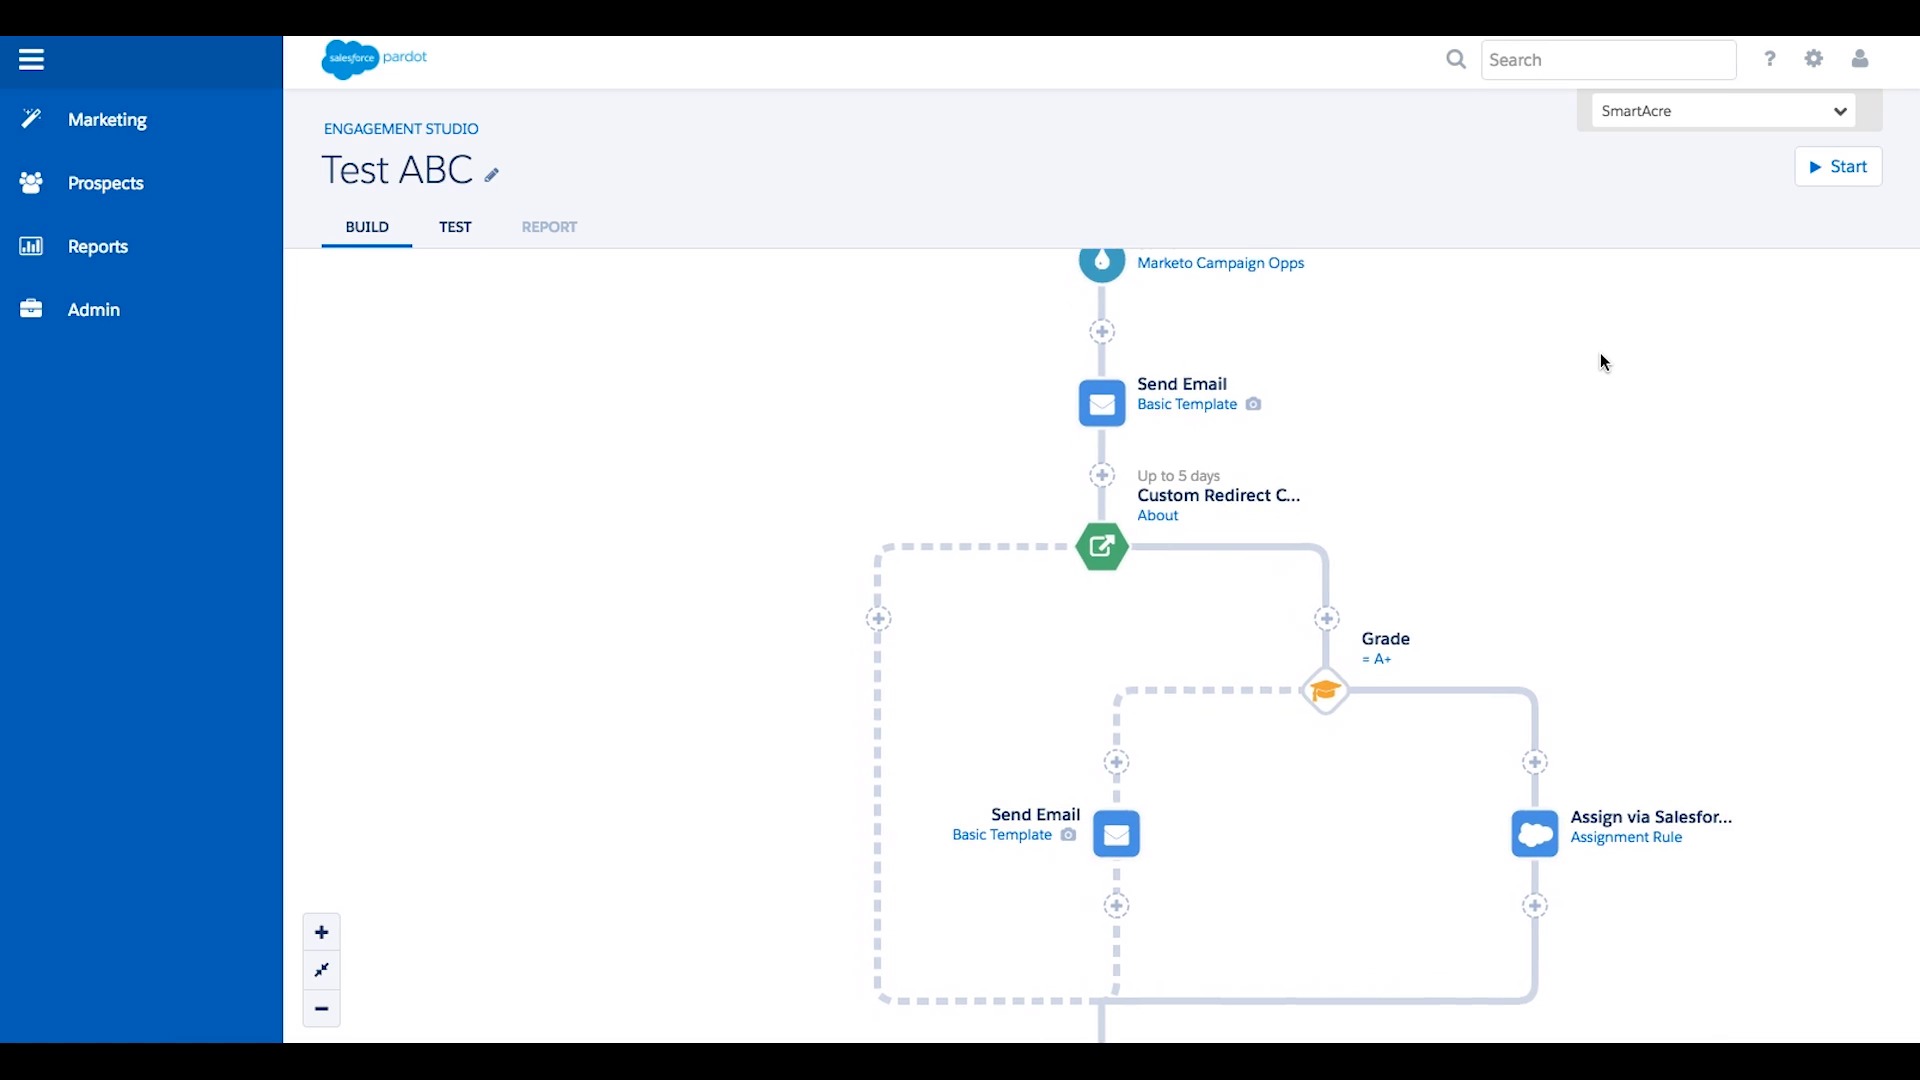
So the first big difference you’ll notice between Engagement Studio and drip programs is the interface. Engagement Studio uses a canvas interface whereas drip programs use a step by step wizard. To create a drip program you’ll have to navigate to marketing, automation, drip programs and then select “add drip program“.
This will take you to the drip program wizard. Here you’ll name the drip program, and select the folder. You’ll then choose a send list, and if needed a suppression list. Finally, you’ll choose how to set up the logic behind your drip program, and this is where the fun begins.
You’ll see on the left hand side that drip programs are 100% action based, meaning that you are much more limited with what you can do. So let’s say you want to send an email, notify the assigned sales user if someone clicks in the email, and add a prospect to a list if they do not click in the email. Here’s how you would set that up.
Select “send an email” from the list of actions on the right hand side and then choose which email template you want to send. Then you’ll have to add a wait step, because drip programs aren’t fast enough or smart enough to tell if someone clicks a link in your email in real time. So after adding our two day wait step we’ll check to see if a link was clicked. If yes, we’ll notify the assigned user, if no, then we’ll add them to a list.
As you can see, this set up does not give us the ability to check to see which link a prospect clicked in the email. If that email sends a prospect to a landing page with a form gating a piece of content, we can’t see if they filled out the form or downloaded the content. We cannot check a prospects score, grade or list membership status. And we can’t change what happens next based on this criteria. I could go on, but I think you get the idea.
And to address those of you who may be asking themselves, “Isn’t there a way to do all of those things using drip programs?” Sure, you could set up multiple drip programs, using different entrance and exit criteria, you could account for the various actions a prospect could take using dynamic lists, you could use custom redirects and completion actions. But you could not manage all of those things in one drip program and you would have a significantly wider margin for error.
On the other hand Engagement Studio allows you to do all of these things in one place. It gives B2B marketers the ability to customize the entire customer journey for each prospect. It allows you to guide each prospect towards the content or offer that would be most meaningful to them, which can help accelerate prospects through the marketing funnel and ultimately increase sales.
Well, that concludes the first of our Engagement Studio vlogs, I hope you enjoyed it. And please check out the next vlog in this series, and our blog post, “Five Ways Pardot Engagement Studio will Impact Your B2B Marketing’.

